So you’re working an existing (brown-field) ASP.NET MVC application. The application’s views are rendered server-side using Razor. Everything is working great and life is good. Suddenly, someone asks for a bit of additional functionality that will require some client side logic. Okay, no big deal. We do this all the time. The question though, is what framework/JavaScript library you will use to implement that client side functionality.
The default MVC project templates already include jQuery, so you might use that. You’ll probably end up writing a lot of code if you go down that path. Chances are, you will want to use a JavaScript framework that offers two-way data binding between the elements in the DOM to a your model data.
I seems that for many people, Knockout.js is the default library to use in these scenarios. I won’t get into the specifics but I think that Knockout is a little dated and that there are better options these days. If you want to dig into some of the issues with Knockout, you can read Simon Timms’ rant on the subject.
Vue.js
My fellow ASP.NET Monster James Chambers recently strongly recommended I take a look at Vue.js. I had been meaning to give Vue a try for some time now and I finally had a chance to use it on a recent project. Let me tell you…I love it.
I love it for a whole bunch of reasons. The documentation is great! It is super easy to get drop in to your existing project and it doesn’t get in the way. For what I needed to do, it just did the job and allowed me to get on with my day. It is also designed to be “incrementally adoptable”, which means you can start out with just using the core view layer, then start pulling in other things like routing and state management if/when you need them.
A simple example
I won’t go into great detail about how to use Vue. If you want a full tutorial, head on over to the Vue docs. What I want to show here is just how simple it is to drop Vue into an existing ASP.NET MVC project and add a bit of client side functionality.
The simplest example I can think of is a set of cascading dropdowns. Let’s consider a form where a user is asked to enter their Country / Province. When the Country is selected, we would expect the Province dropdown to only display the valid Provinces/States for the selected Country. That probably involves a call to an HTTP endpoint that will return the list of valid values.
public class ProvinceLookupController : Controller |
Including Vue in your Razor (cshtml) view
The easiest way to include Vue on a particular Razor view is to link to the vue.js file from a CDN. You can add the following Script tag to your scripts section.
@section scripts { |
Be sure to check the docs to make sure you are referencing the latest version of Vue.
Binding data to the our View
Now that you have included the core Vue library, you can start using Vue to bind DOM elements to model data.
Start by defining a Vue object in JavaScript. You can add this in a new <script> tag in your scripts section.
@section scripts { |
This Vue object targets the DOM element with id vueApp and contains some simple data. The currently selected country code and the list of countries.
Now, back in the HTML part of your csthml, wrap the form in a div that has an id="vueApp".
<div id="vueApp"> |
Next, bind the <select> element to the data in your Vue object. In Vue, data binding is done using a combination of custom attributes that start with v- and the double curly bracket (aka. Mustache) syntax for text.
<div class="form-group"> |
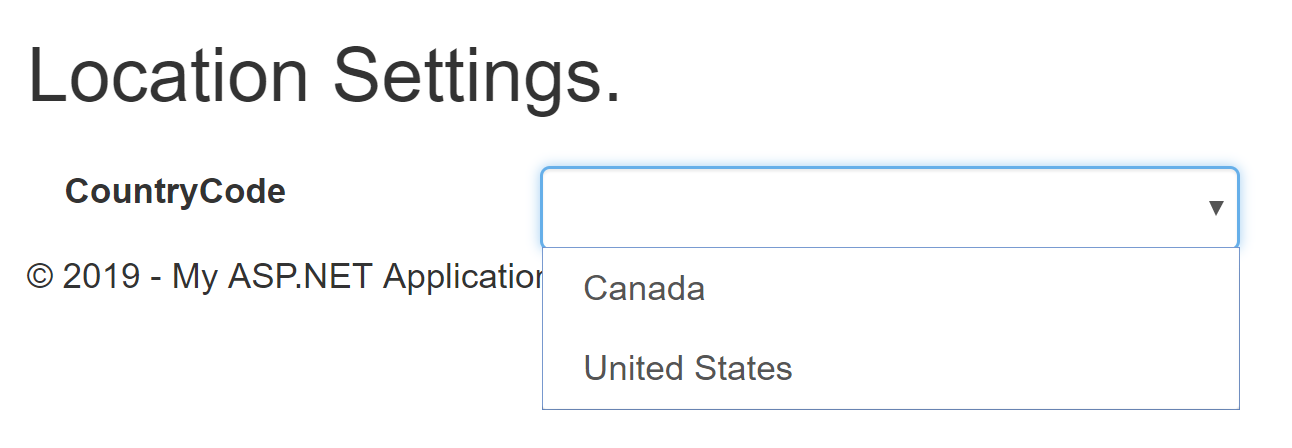
Now, when you run the app, you should see a dropdown containing Canada and United States.

Adding functionality
Next, you will want to add some client side logic to get the list of valid provinces from the server whenever the selected country changes.
First, add an empty provinces array and a selectedProvinceCode property to the Vue object’s data.
Next, add a method called countryChanged to the Vue object. This method will call the ProvinceLookup action method on the server, passing in the selectedCountryCode as a parameter. Assign the response data to the provinces array.
var app = new Vue({ |
Here I used jQuery to make the call to the server. In the Vue community, Axios is a popular library for making HTTP requests.
Back in the HTML, bind the change event from the country select element to the countryChanged method using the v-on:change attribute.
<select id="CountryCode" name="CountryCode" class="form-control" |
Now you can add a select element for the provinces.<div class="form-group">
@Html.LabelFor(model => model.ProvinceCode, new { @class = "control-label col-md-2" })
<div class="col-md-10">
<select id="ProvinceCode" name="ProvinceCode" class="form-control"
v-model="selectedProvinceCode">
<option v-for="province in provinces" v-bind:value="province.Code">
{{province.Name}}
</option>
</select>
</div>
</div>
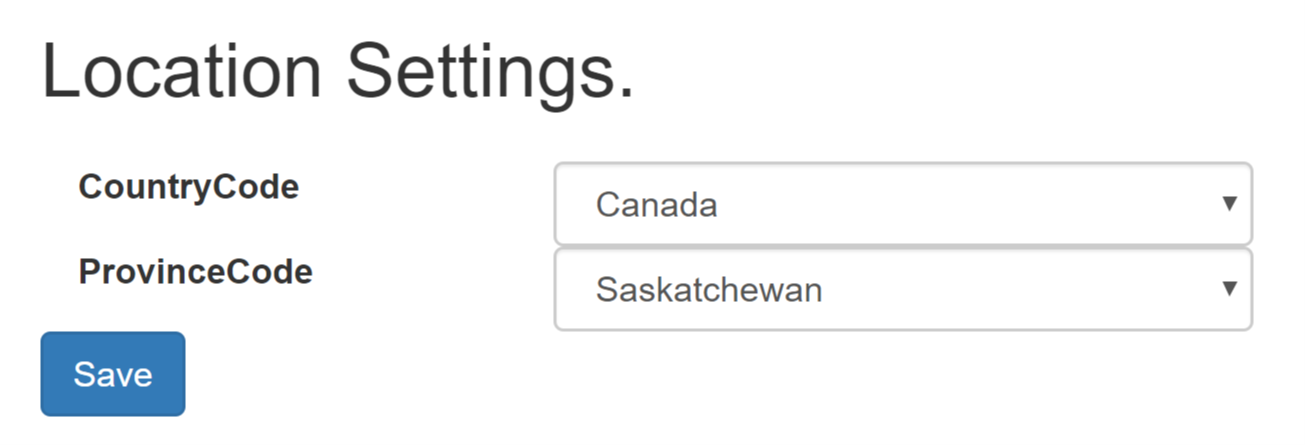
Voila! You now have a working set of cascading dropdowns.

One last thing
You might want to disable the provinces dropdown whenever a request is being made to get the list of provinces for the selected country. You can do this by adding an isProvincesLoading property to the Vue object’s data, then setting that property in the countryChanged method.
var app = new Vue({ |
In your HTML, bind the disabled attribute to the isProvincesLoading property.<div class="form-group">
<select id="ProvinceCode" name="ProvinceCode" class="form-control"
v-model="selectedProvinceCode"
v-bind:disabled="isProvincesLoading">
<option v-for="province in provinces" v-bind:value="province.Code">
{{province.Name}}
</option>
</select>
Putting it all together
Here is the entire cshtml file.
@{ |
Wrapping it up
I hope this gives you a taste for how easy it is to work with Vue. My current thinking is that Vue should be the default choice for client side frameworks in existing ASP.NET MVC apps.
NOTE: This example uses ASP.NET MVC 5 to illustrate that Vue can be used with brownfield applications. It would be just as easy, if not easier, to use Vue in an ASP.NET Core project.